Supplanting a shower bath can revitalize your washroom, offering a resuscitating update and redesigning convenience. Whether you’re pulling out all the stops in a la mode or simply need to override separated establishments, leaving on this endeavor requires wary readiness and execution. From studying the space to picking the right materials and ensuring a genuine foundation, each step plays an essential part in achieving a productive outcome. In this associate, we’ll walk you through the cycle one small step at a time, giving clear bearings and expert tips to help you investigate the intricacies of superseding your bathroom Bathtub Replacing ideas capably and truly.
1. Measure And Evaluate Space.
Before unclogging into the most widely recognized approach to replacing your shower bath, it’s imperative to begin by assessing and looking over the space where the new establishment will be presented. Begin by taking exact assessments of the length, width, and level of the ongoing shower area, ensuring to address any specialties or recessed spaces. Consider the plan of incorporating contraptions, similar to sinks, restrooms, and pantries, to ensure agreeable space and transparency.
Likewise, overview the condition of the walls and ground surface to recognize any conceivable essential issues or water hurt that may be in general before going on further. Utilizing mindfully evaluating the space blunt, you’ll lay out areas of strength for a point for a successful shower replacement project, restricting shocks and ensuring a reliable foundation process.
2. Eliminate Old Installations.
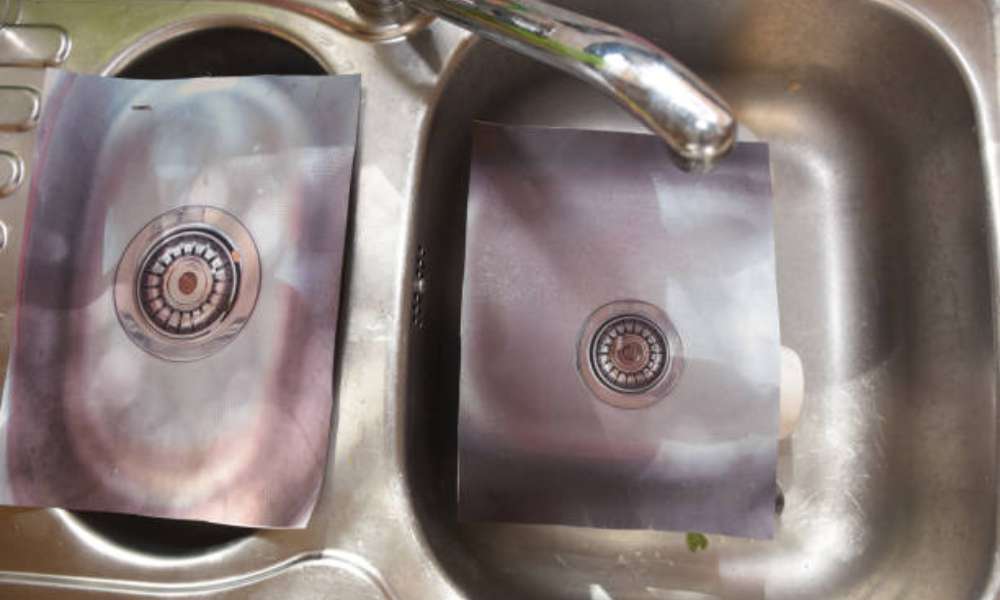
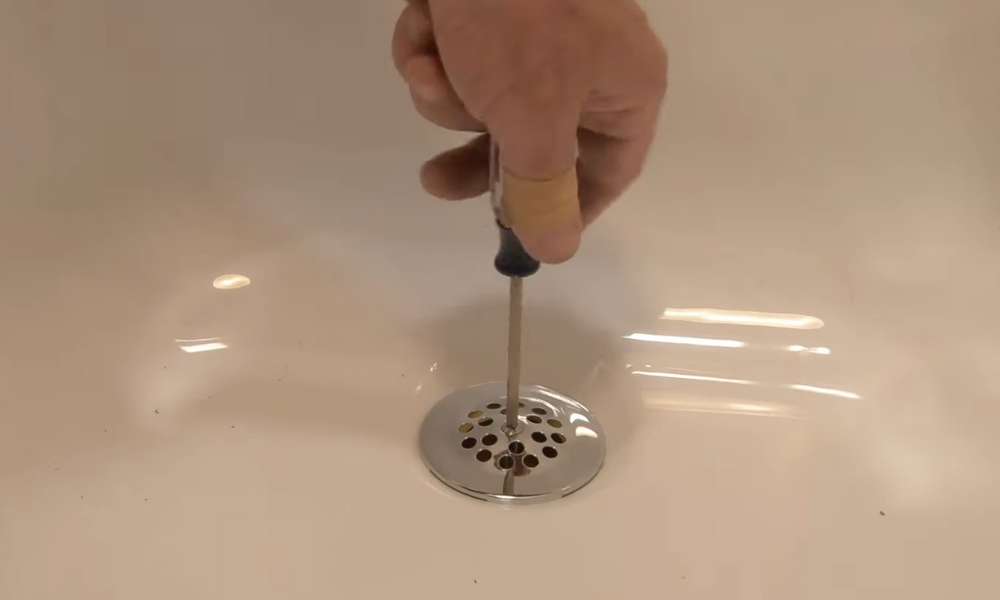
Dispensing with old mechanical assemblies is a fundamental push toward the most widely recognized approach to displacing your shower, and it requires mindful careful attention and genuine gadgets. Begin by turning off the water supply to the bath and separating any line affiliations, including the nozzle, showerhead, and channel. Then, at that point, dispense with any caulking or sealant around the edges of the shower using a utility edge or caulk remover gadget.
When the contraptions are removed, circumspectly loosen and kill any screws or locks that secure the way to the walls and floor. With the assistance of an accomplice, lift the old bath out of its break or space, taking thought to swear off hurting including walls or deck. Finally, great and set up the locale for the foundation of the new shower, ensuring a flawless and stable beginning stage for the resulting stages in the replacement cycle.
3. look at Plumbing Similarity.
Checking plumbing likeness is a basic step while overriding a shower bath to ensure a steady foundation and value. Begin by breaking down the arrangement of the ongoing line and choosing if it lines up with the subtleties of the new shower. Measure the position and size of the channel and apparatus openings on the new shower, ensuring they contrast and the ongoing line affiliations.
If principal, make acclimations to the line’s configuration or place assets into connectors to oblige any qualifications in size or plan. Additionally, audit the condition of the lines and fittings for any signs of damage or disintegration that may be in general before going on further. By affirming pipe comparability frankly, you can direct potential issues and assure smooth advancement to the foundation time of the bath replacement process.
4. Introduce Another Tub Base.
Presenting another tub base is a huge stage during the time spent overriding a shower, setting the foundation for a solid and secure establishment. Begin by circumspectly setting the new bath into the appointed break or space, promising it sits level and flush against the walls. Use a level to insist on the plan and change as required. Then, at that point, secure the tub base to the walls and floor using a reasonable catch, similar to screws or latches, complying with the producer’s rules for a genuine foundation.
Give close thought to fixing any openings between the tub base and the incorporating walls or floor to hinder water spillage. Additionally, ensure that the channel and installation openings change precisely with the ongoing line affiliations. By presenting the new tub base precisely, you’ll spread out areas of strength for the rest of the replacement cycle, ensuring a strong and tough establishment for a seriously prolonged period into what’s in store.
5. Secure Walls For Help.
Getting the walls for help is an essential push toward overriding a shower, ensuring sufficiency and life expectancy for the new establishment. Begin by analyzing the walls enveloping the bath district for any signs of damage, for instance, breaks or water stains, and address any issues likewise. Develop the walls by presenting support studs or supports relying upon the circumstance, particularly assuming the ongoing plan appears to be slight or unstable.
Use a stud finder to find and stamp the spots of the wall studs, then, join support sheets or supports securely to invigorate extra and sponsorship to the shower. Ensure that the walls are suitably moved toward bearing the weight of the new contraption and persevere through the tensions of ordinary use. By getting the walls for help, you’ll make major areas of strength for a point for the bath foundation, propelling security and strength long into what’s to come.
6. Interface New Pipes.
Connecting new lines is a dire push toward the most widely recognized approach to replacing a shower, ensuring genuine handiness and water stream for the new establishment. Begin by mindfully arranging the new bath to agree with the ongoing line affiliations, including the channel and installation. Affix the channel get-together to the shower’s channel outlet, getting it solidly with the appropriate fittings and plumbing paste. See How Much Does It Cost to Replace a Bathtub, interface the Water Supply Lines to the Nozzle establishments, ensuring a watertight seal using the jack of all trades’ tape or line sealant. Twofold investigates all relationships to check the genuine game plans and coziness and roll out any fundamental improvements relying upon the circumstance.
Finally, turn on the water supply and test the line’s relationship for spills or any issues, addressing any concerns expediently to hinder water hurt. By partnering the new lines precisely, you’ll ensure smooth and reliable movement of the shower, giving extensive stretches of comfort and solace in your washroom space.
7. Seal Joints And Edges.
Fixing joints and edges is a basic last push toward displacing a shower, ensuring water coziness and thwarting potential openings. Begin by applying a liberal dab of waterproof silicone caulk along the edge where the bath meets the walls and floor, using a caulking weapon for exactness. Center around corners and wrinkles, ensuring comprehensive consideration to make a reliable seal. Smooth the caulk with a wet finger or caulk-finishing gadget to achieve flawless and capable consummation.
In addition, apply caulk around the edges of any line establishments, similar to the nozzle and channel, to hold water back from soaking the walls or floor. License the caulk to fix it totally as shown by the maker’s headings before using the shower. By fittingly fixing joints and edges, you’ll protect against water damage and ensure a reliable and watertight foundation for your new shower.
8. Set Another Bath Set up.
Setting up another bath is an essential stage in displacing a shower, requiring wary precision and trustworthiness. Begin by arranging the new bath into the allocated space, promising it fits comfortably against the walls and changes precisely with the lines of mechanical assemblies. Use a level to ensure the shower is completely even and change as essential to achieve a genuine plan. Once arranged precisely, secure the shower set up by joining it to the walls and floor as demonstrated by the maker’s headings, using appropriate screws or latches.
Ensure that the shower is unfalteringly secured to invigorate and back. Moreover, check for any openings between the bath and the incorporating walls or floor, and fill them with waterproof caulking to hinder water spillage. By setting the new shower up with precision and care, you’ll spread out serious areas of strength for a point for a strong and common establishment in your bathroom.
9. Test For Breaks.
After setting the new bath up during the replacement communication, it’s basic to test for openings to ensure the genuineness of the foundation. Begin by turning on the water supply and allowing the shower to load up with water. While the bath is filling, warily survey all plumbing affiliations, including the channel and apparatus, for any signs of spillage or streaming. Give close thought to areas where lines and establishments meet the shower and enveloping walls.
Besides, check for any water pooling or seepage around the underpinning of the shower. Assuming any openings are perceive, quickly address them by fixing affiliations or applying additional caulking depending upon the circumstance. At the point when all potential break centers have been explored and helped, channel the shower and dry the including district. By coordinating a comprehensive break test, you’ll ensure that your new shower is presented securely and freed from any water-related issues, giving authentic peacefulness and strong delight in your washroom space.
10. Apply Final details.
Applying the last subtleties is the last push toward the most well-known approach to superseding a shower, adding classy charm, and ensuring a spotless quest for the foundation. Begin by cleaning the shower and enveloping locale to dispose of any buildup, junk, jetsam, or development from the foundation communication. Then, apply a touch of silicone caulk along the edges of the shower where it meets the walls and floor, ensuring a predictable and watertight seal. Use a caulk-finishing gadget or wet material to smooth the caulk and make clean lines for master fulfillment.
Besides, present any trim or adornment around the line of the shower to cover openings and work on the outward presentation. Finally, override any devices or ruffles, for instance, the nozzle handles or showerhead, and test their handiness to ensure authentic action. By applying these last subtleties with care and conscientiousness, you’ll complete the displacing of your give shower a great and viable possible result, fit to be gotten a kick out of for a seriously lengthy timespan into what’s in store.
Conclusion
Completing the replacement of your shower signifies a basic achievement in redesigning your bathroom’s handiness and feel. Through cautious readiness, precise execution, and conscientiousness, you’ve changed a dated or separated establishment into a reestablished feature of your space. As you step back to regard the finished result, put sincerely in the craftsmanship and obligation to place assets into this errand. With authentic upkeep and care, your new shower will give you extensive stretches of comfort and fulfillment.
Remember, would it be fitting for you to encounter any challenges in transit, go ahead and help from specialists, or reference reliable resources? As of now, with your invigorated shower set up, you can relish the satisfaction of a superb piece of workmanship and partake in the extravagant comfort of your restored washroom desert garden.