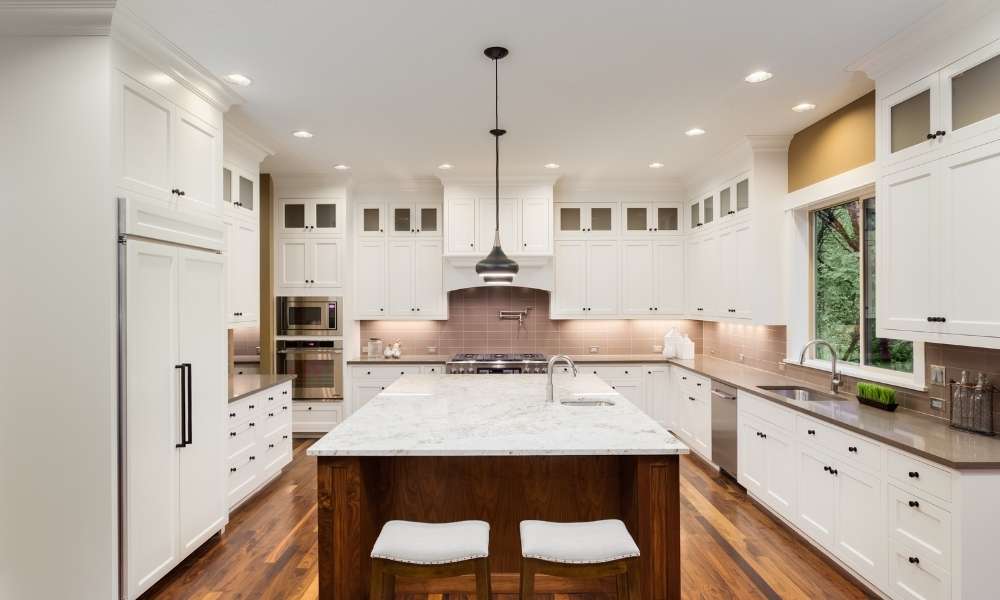
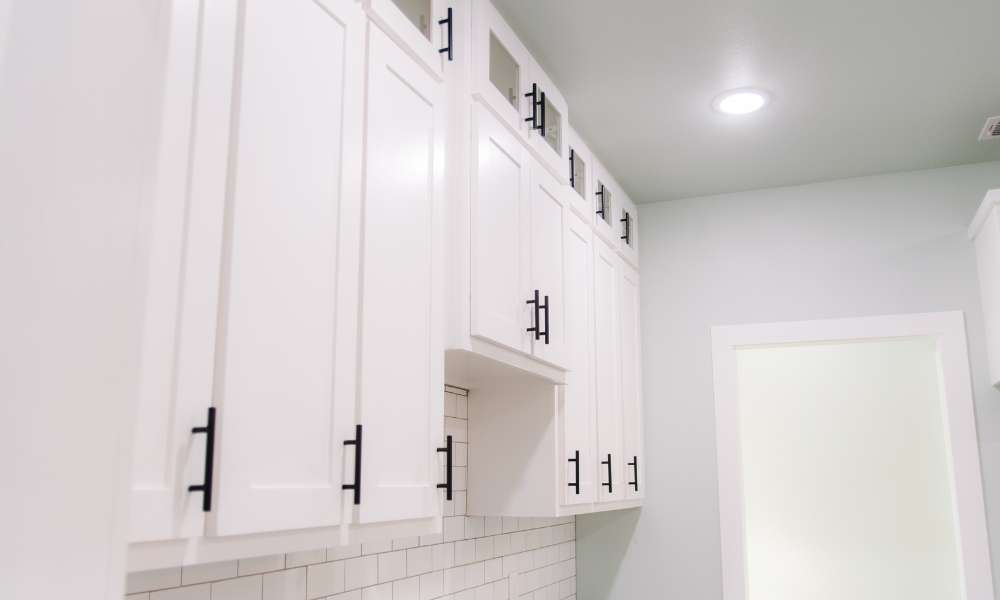
Renovating your kitchen can be A fun and rewarding project, And one of the best ways to create A beautiful new look for your space is to glaze your white cookhouse cabinets. Glazing white kitchen cabinets can transform them from bland to stunning with just A few simple steps. Not only does it add an extra layer of protection over the paint, But it also gives the cabinets A timeless, Elegant look.
1. Understanding The Purpose And Benefits of Glazing White Kitchen Cabinets
This technique involves applying A thin layer of glaze over the painted Or stained cabinet surface, Creating depth and dimension in the final finish. The purpose of glazing cabinets is to enhance their overall appearance by adding an extra layer of texture and character.
When it comes to benefits, Glazed white container offer various advantages, Including durability, Easy maintenance, And versatility in design. Glazed finishes provide additional protection against wear and tear, Making them more resistant to scratches and stains. Furthermore, Cleaning shine surfaces is straightforward as they require minimal upkeep compared to other finishes such as wood Or laminate. Finally, With A wide range of shine colors available on the market today, You can customize your cabinetry’s look to match any style from classic to contemporary.
2. Preparing The Cabinets For Glazing By Cleaning And Sanding
Glaze white cookhouse cabinets are A popular choice for homeowners who want to add character and depth to their kitchen. However, Before you can apply the shine, You need to prepare your cabinets properly.
The first step in preparing your cabinets is cleaning them thoroughly. Remove all dirt, Dust, And grease from the surface of the container using A degreaser Or A solution of warm water and mild detergent. Make sure to wipe down every inch of the cabinet’s surface, Including doors, Drawers, And frames. Allow them to dry completely before moving on to the next step.
Once your container are clean and dry, It’s time to sand them lightly. Sanding helps to create A smooth surface that will better accept the glaze coat.
3. Choosing The Right Glaze Color And Type For Your Desired Look
Choosing the right glaze color and type for your white cookhouse cabinets can be an overwhelming task. Glazing is a popular technique used to enhance the beauty of your cabinets by adding depth and dimension. However, With so many shine colors and types available in the market today, It’s important to choose one that complements your desired look.
When selecting A glaze color, Consider the overall theme of your kitchen. If you have A modern Or contemporary style, Opt for cool-toned gray Or silver shine to add a touch of sophistication. For A rustic Or traditional look, Warm-toned brown Or bronze glazes work well to create an earthy feel. It’s also essential to consider the natural light in your kitchen as this can affect how the shine appears on your container.
4. Applying The Glaze With A Brush Or Rag In Small Sections
Glaze offers an easy and affordable way to create depth and texture on your cabinets, Producing A rustic Or antique look. Using either A brush Or rag can help you achieve the effect that best suits your taste.
Applying the glaze with A brush is one of the most common techniques used in cabinet refinishing projects. Dip the brush into the shine, Tap off any excess, And apply it to a small section of the cabinet. Start at one corner and work your way across, Making sure to cover all surfaces evenly. You may need to apply multiple coats depending on how dark you want the finish to be.
Alternatively, Using A rag creates an entirely different aesthetic than brushing does.
5. Wiping Off Excess Glaze To Achieve Desired Effect
One of the most important steps is wiping off excess glaze after applying it to your cabinets. Glaze is A semi-transparent paint that can be used to create A variety of effects, Such as adding depth and dimension Or creating an antiqued look.
To start, You will need to apply the shine to your container using a brush Or roller. Be sure to use even strokes and cover all surfaces evenly. Once you have applied the shine, Wait for it to dry slightly but not completely. This will give you enough time to wipe off any excess without removing too much of the shine itself.
When wiping off excess glaze, Use A clean cloth Or paper towel and work in small sections at A time. Be gentle but firm, Making sure not to leave any streaks Or smudges behind.
6. Adding Additional Layers Of Glaze For A More Dramatic Look
Adding additional layers of glaze might be the perfect solution. Glaze is A translucent liquid that can be applied over painted surfaces to create depth and texture. By adding multiple layers of shine, You can achieve A unique and eye-catching finish that will make your kitchen stand out.
To get started, Make sure your cabinets are clean and free of any dirt Or debris. Then, Apply the first layer of shine using A paint brush Or roller. Allow it to dry completely before applying another layer. Depending on the desired effect, You may need several coats of shine to achieve the look you want. As each layer dries, The depth and richness of the finish will increase, Creating A stunning visual effect that will transform your white container into something truly special.
7. Tips For Achieving A Professional Finish, Such As Using A Sealant Or Topcoat
One of the most important is to use A high-quality sealant or topcoat. This will protect the paint from scratches and stains, As well As make it easier to clean.
Another tip is to prepare the cabinets properly before painting. Make sure to remove any dirt Or grease from the surface And sand it down lightly. This will help the paint adhere better And prevent it from peeling off over time.
When applying the paint or glaze, Be sure to use A high-quality brush or roller. This will help ensure an even application and prevent streaks Or bubbles from forming. You may also want to consider using A sprayer for larger surfaces for A more polished finish.
Finally, Make sure to let each coat dry completely before applying another layer.
8. Tools And Materials Needed For Glazing Kitchen Cabinets
Glazing kitchen cabinets has become an increasingly popular trend in home renovation. The process involves applying A thin layer of shine to white cookhouse container, Creating A unique and elegant look. If you’re looking to try your hand At glazing your own kitchen cabinets, There are several tools and materials you’ll need to get started.
Firstly, You’ll need sandpaper to prepare the surface of the container before applying the shine. You’ll also need A paintbrush Or foam brush for applying the glaze itself. Another essential tool is a scraper, which will help remove excess shine and ensure that it’s spread evenly across the cabinet surface. Additionally, You may want to use painter’s tape Or masking tape around areas that you don’t want glazed.
In terms of materials, You’ll obviously need glaze itself.
9.Potential Mistakes To Avoid When Glazing Your Cabinets
It’s A simple process that involves applying A thin coat of shine over your white cookhouse cabinets to create an aged, Distressed look that adds character and depth. However, It’s essential to avoid making some common mistakes when glazing your container.
One potential mistake is using too much glaze. Applying too much shine can result in an overly dark or muddy finish, Which defeats the purpose of creating an antique charm. To avoid this, Start with A small amount of glaze and gradually build up until you achieve the desired effect. Another mistake is not wiping off excess shine properly. Failing to remove excess glaze from the surface can lead to uneven shading and streaking.
10.The Final Thought
In conclusion,glazing white kitchen cabinets is A great way to transform your home and add A unique touch of sophistication. With just A few simple steps, You can create stunning cabinets that will last for years to come. When choosing the right paint and shine, Be sure to use high-quality materials that are resistant to scratches and wear from everyday use. Additionally, Make sure you take the time to properly prepare both the surface and the glaze before applying it to your container.